

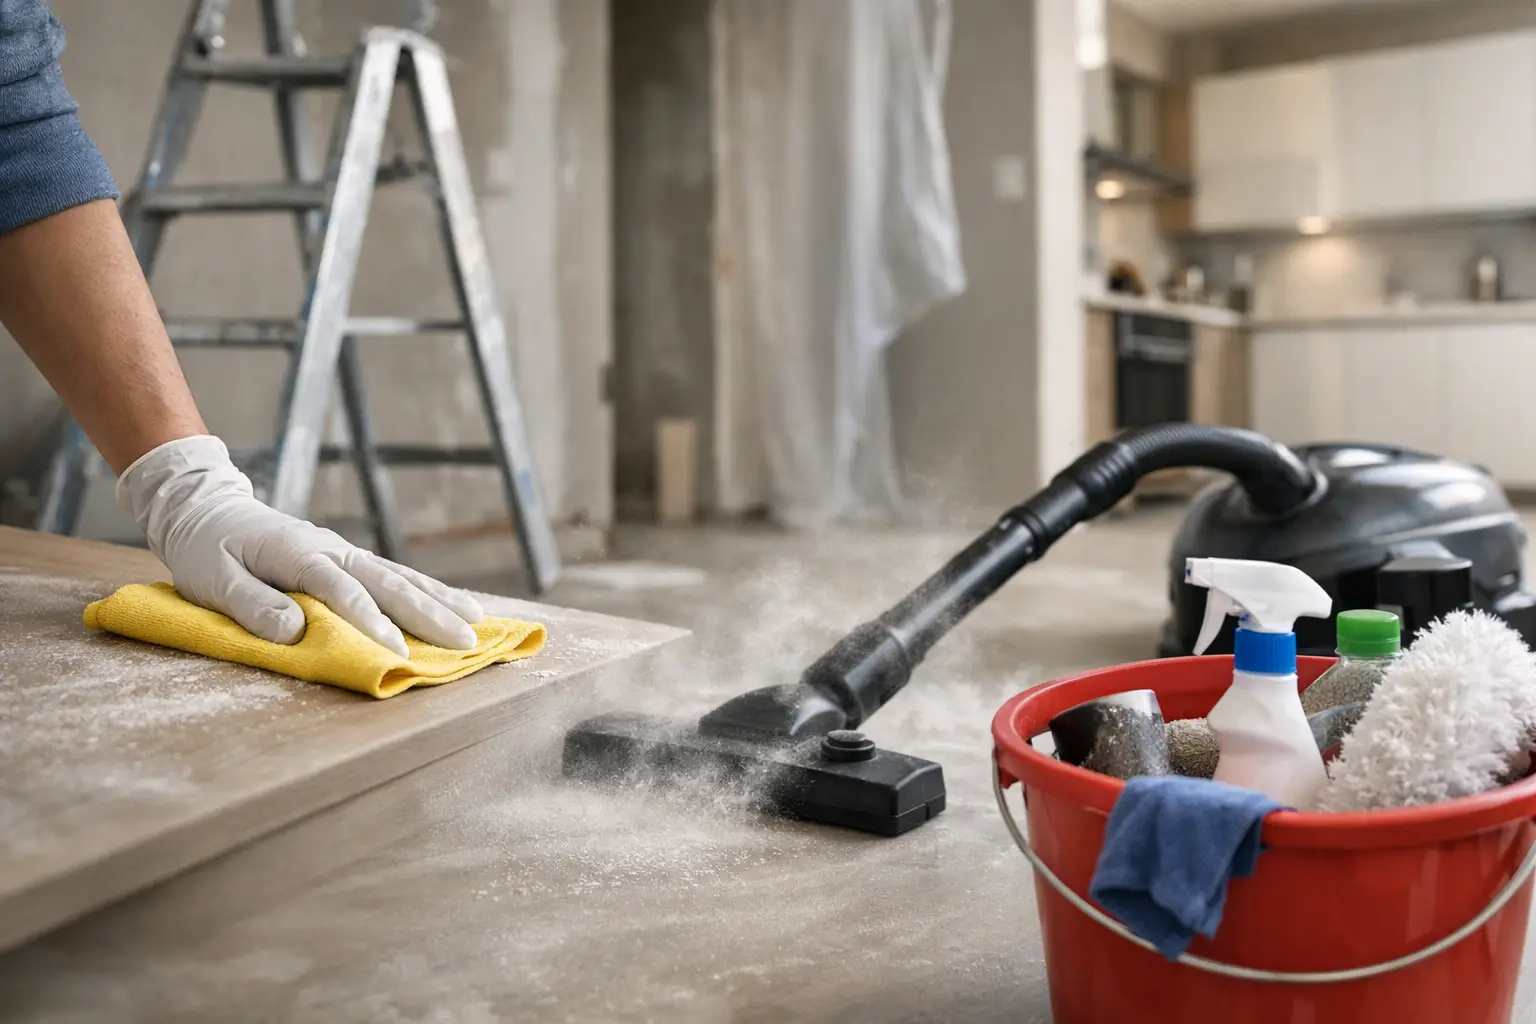
Renovation dust does not stay where the work happened. It settles inside drawers, behind toilet bowls, along window tracks, on air-conditioner ledges, and on the tops of doors that are easy to miss during a quick wipe-down. Knowing how to clean renovation dust properly matters because dry sweeping or rushing straight to mopping can send fine particles back into the air and spread them through the home again.
For an HDB flat, condo, studio, or landed home, the safest approach is to work from high surfaces down and from the least dusty area toward the heaviest work zone. The first clean is about dust removal, not making every surface shine immediately. A careful second pass is what leaves the home ready for move-in, furniture delivery, or normal weekly cleaning.
Prepare before you start cleaning
Do not begin while contractors are still cutting tiles, sanding walls, drilling, or touching up paint. Ask whether all construction work, debris removal, and major installations are complete. Fresh silicone, grout, paint, and laminate finishes may need time to cure, and aggressive cleaning too early can damage them.
Open windows where it is safe to do so, but avoid creating a strong cross-breeze that blows dust from one room to another. If the home has air conditioning, keep it off during the dustiest stage. Running the system too soon can pull fine dust into vents and filters.
Wear a well-fitting mask, especially when dealing with powdery dust from sanding, cement, grout, or drilling. Gloves and closed shoes are sensible too. If there are visible piles of construction residue, broken tiles, nails, glass, or sharp scraps, remove these carefully before starting detailed cleaning.
Gather a vacuum with a fine-particle or HEPA filter if available, microfiber cloths, a flat mop with washable pads, a bucket, mild neutral cleaner, a soft brush, a scraper suitable for glass, and separate cloths for bathrooms and kitchens. Avoid rough scouring pads on new fixtures, polished tiles, glass, and laminate surfaces.
How to clean renovation dust in the right order
The order is what prevents repeat work. Start at the highest point in each room, then move downward. Clean one room fully enough to control the dust before moving to the next, rather than wiping every countertop in the home while ceilings and ledges are still dusty.
Start with ceilings, walls, and high ledges
Use a vacuum attachment or a dry microfiber mop to remove dust from ceiling corners, fans, light fittings, curtain pelmets, cabinet tops, door frames, and wall ledges. Work slowly. Fast movements can flick dust into the air.
For painted walls, do not soak them. A clean, barely damp microfiber cloth is usually enough after vacuuming. Test a small hidden area first, particularly on newly painted walls or feature finishes. If a wall has plaster dust stuck to it, repeated light wiping is safer than scrubbing hard in one spot.
Pay attention to built-in carpentry. Dust commonly sits inside open shelves, cabinet hinges, drawer runners, and the narrow gap between a wardrobe and the wall. Vacuum these areas first, then wipe them with a lightly damp cloth. Change or rinse cloths often. A cloth that is already grey with dust will only smear residue over the next surface.
Vacuum before you mop floors
Never rely on a broom as the main tool for renovation dust. It may pick up larger debris, but it pushes fine powder into the air and into floor joints. Vacuum slowly around skirting boards, corners, under cabinets, window tracks, and behind doors.
Use a soft brush attachment for vinyl, wood-look flooring, and delicate surfaces. For tile floors, a vacuum can remove loose dust from grout lines before damp mopping. Check the vacuum wheels and head first to make sure they are clean, especially on newly installed vinyl or polished flooring where trapped grit can leave marks.
After vacuuming, mop with clean water or a small amount of neutral floor cleaner recommended for the surface. Do not make the mop overly wet. Excess water can enter laminate seams, sit in grout lines, and leave a sticky film that catches more dust. Rinse the mop pad frequently, then complete a second mop if the water remains cloudy after the first pass.
Clean windows, tracks, and glass carefully
Windows often hold some of the most stubborn renovation residue. First vacuum or brush the tracks to remove dry dust, insects, and bits of debris. Then wipe the tracks with a damp cloth, using a soft brush for corners. Do not pour water directly into tracks, particularly near sliding-door drainage points.
For glass, remove loose dust before applying any glass cleaner. Wiping dry grit across a window can cause fine scratches. If paint specks or adhesive are present, use a proper scraper only when the glass is wet and only at a shallow angle. Do not use blades on tinted film, acrylic panels, or coated surfaces unless the installer has confirmed it is safe.
Give kitchens and bathrooms a separate pass
Fine dust mixes easily with moisture, grease, and silicone residue. That is why kitchens and bathrooms usually need more than a standard wipe-down after renovation work.
In the kitchen, clean the inside and outside of cabinets, shelves, drawer interiors, handles, backsplash, countertop edges, sink, and appliance spaces. Vacuum cabinet corners before wiping. If there is an exhaust hood, remove visible dust from the exterior and accessible filters, following the manufacturer’s cleaning guidance. Do not assume a new kitchen is clean inside the cabinets simply because the doors look spotless.
In bathrooms, vacuum dry dust around the toilet base, vanity, floor drain, shower screen tracks, and tile edges before using water. Then clean the sink, toilet, shower area, mirror, fixtures, and floor. Avoid strong acidic products on natural stone, new grout, or metal fittings unless the material is confirmed suitable. In Singapore’s humid conditions, dry shower screens, cabinet interiors, and corners well afterward so leftover moisture does not create musty odors or encourage mold.
Do not forget hidden dust traps
The visible floor is only part of the job. Renovation dust tends to collect in small, overlooked spaces and can keep reappearing for days if these are missed.
Check these areas during the final pass:
- Air-conditioner vents, filters, and nearby ledges
- Window and sliding-door tracks
- Inside drawers, cabinets, wardrobes, and shoe storage
- Skirting boards, door tops, switch plates, and sockets
- Ceiling fans, light fittings, curtain rails, and blinds
- Balcony corners, service yards, and floor drains
For electrical outlets and switches, use a dry microfiber cloth or vacuum brush only. Do not spray cleaner directly onto electrical fittings. For air-conditioners, surface dust can be wiped away, but a heavily dusted system may need professional servicing before regular use.
Know when a professional post-renovation clean is worth it
A small repainting job or one-room carpentry installation may be manageable with a careful home clean. A full renovation is different. Dust can travel through the entire unit, settle inside new storage, coat window tracks, and collect in places that require ladders, equipment, or more time than most households can spare.
Professional support is often practical when the home has multiple bathrooms, extensive built-ins, large glass panels, renovation residue on floors, or a tight move-in schedule. It can also help when tenants need the property presentable for handover, or when homeowners want the work checked before furniture and appliances arrive.
When requesting a quotation, be clear about the property type, number of rooms and bathrooms, renovation scope, whether furniture is already installed, and any add-ons such as interior cabinet cleaning, balcony cleaning, appliance cleaning, or air-conditioner servicing. A clear scope reduces surprises and helps the cleaning team bring the right manpower and tools. Singapore House Cleaning can provide a straightforward quotation based on the home’s size, condition, and requested coverage.
Keep dust from returning after the first clean
Even a thorough cleaning may not remove every particle immediately. Fine dust can continue settling for several days, particularly after renovation work has just ended. Keep windows screened where possible, wipe frequently touched surfaces with a damp microfiber cloth, and vacuum or mop lightly again after furniture delivery.
Before unpacking clothes, kitchenware, or bedding, wipe the inside of every cabinet and drawer one more time. It is much easier to clean empty storage than to wash dust off belongings later. Replace or clean air-conditioner filters if they were exposed during the work, and wash reusable mop pads and cloths separately so they are ready for normal household cleaning.
A clean renovation site becomes a livable home when the dust is removed in layers, not simply pushed out of sight. Take the time for that final quiet pass through each room – open the drawers, run a finger along a ledge, and check the corners before life starts filling the space.