

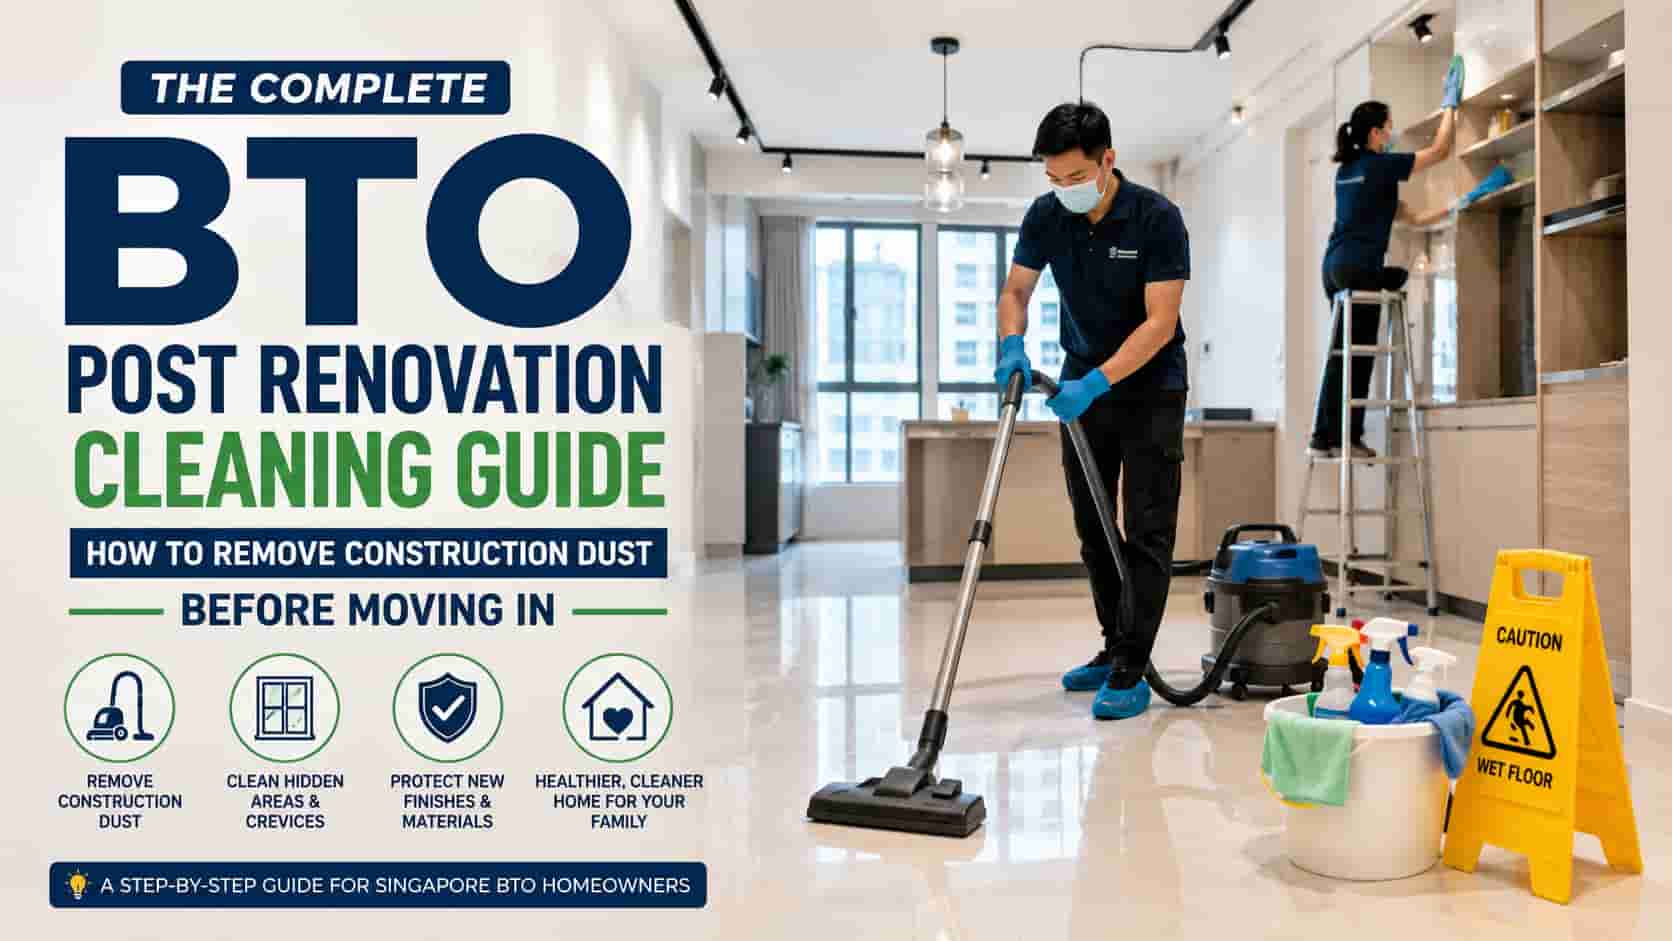
Collecting the keys to a brand-new Build-To-Order (BTO) flat is one of the most exciting milestones for a Singaporean homeowner. Across Singapore, new developments in Woodlands, Admiralty, Tengah, Tampines, and Sengkang are welcoming thousands of families moving into their new homes.
However, walking into your newly finished flat for the first time can bring a quick dose of reality. The pristine interior you planned with your designer is often covered in a stubborn, chalky layer of white powder. Although your renovation may be complete, most newly renovated BTO flats still contain a surprising amount of fine construction dust hidden inside wardrobes, window tracks, light fittings, and air conditioning vents.
This construction dust is a highly abrasive, fine particulate mixture of cement, drywall silica, sawdust, and grout residue. Managing this airborne influx requires a highly strategic approach. Many homeowners begin with a post renovation cleaning before transitioning to regular weekly house cleaning once the heavy particles have been completely extracted.
Why Renovation Dust is Extra Stubborn
Newly completed BTO estates experience an environmental phenomenon that mature estates rarely deal with: simultaneous, estate-wide renovation work.
1. The “Neighborhood” Dust Effect
When hundreds of units in your block are drilling, hacking, and sanding concurrently, the air outside your home is heavily saturated with fine construction dust. Every time you open your windows to ventilate the smell of fresh paint, drafting winds carry outdoor renovation dust right back onto your freshly wiped countertops. If you find yourself asking Why Construction Dust Keeps Returning After Renovation (And How To Fix It), the answer lies in this continuous cycle of ambient estate-wide construction.
2. Highly Abrasive Silica Particles
Standard household dust is largely composed of organic fibers and skin cells, which are soft and easily wiped away. In contrast, the residue left behind from building works consists of heavy crystalline silica, plaster, and concrete micro-particles. If wiped dry, these jagged mineral fragments act like sandpaper, leaving micro-scratches on your glossy cabinets, glass surfaces, and delicate electronic screens.
During renovation, cutting tiles and dry-mixing cement releases respirable crystalline silica, an ultra-fine mineral dust that can settle deep inside your lungs if not properly extracted during the final cleanup.
3. Deep Settlement in Carpentry Crevices
Because modern layouts feature extensive custom carpentry—such as built-in wardrobes, kitchen islands, and shoe cabinets—fine powder gets trapped deep within drawer tracks, hinge plates, and shelf support holes.
When Should You Book a Post Renovation Cleaning Service?
Timing your deep clean is crucial. Booking too early means your home will be re-contaminated by ongoing works, while booking too late can disrupt your moving schedule. For the best results, schedule your cleaning:
After all carpentry work is completed: Sawdust from custom wardrobe and kitchen cabinet installations must be entirely settled before cleaning.
After painting finishes: Ensure wall paint is completely dry to prevent damp micro-dust from sticking to or staining fresh paintwork.
After silicone sealant has cured: Allow kitchen and bathroom silicone lines to cure fully (usually 24 hours) so dust doesn’t get trapped in tacky edges.
Before furniture delivery: It is significantly easier and more effective to extract heavy dust from empty rooms before beds, sofas, and dining sets are brought in.
Before curtains are installed: Fabric curtains and blinds act like dust magnets; hanging them in a dusty room will immediately soil them.
Before aircon servicing: If required, arrange air conditioner servicing after the heavy renovation dust has been removed so the cleaned components are less likely to become contaminated again.
How Long Does Renovation Dust Take to Settle?
Fine construction dust typically continues to settle for 24 to 72 hours, and even longer if nearby units are still undergoing renovation. If neighboring units are still undergoing hacking, sanding, or carpentry work, dust may continue entering your home for several weeks.
Because of this ongoing settling process, performing a single clean immediately after your contractor hands over the keys is rarely enough. Many homeowners schedule a second light clean a few days after the initial post-renovation cleaning, especially when neighboring units are still undergoing renovation. Others may choose to schedule a second round deep cleaning shortly before moving furniture into the property to remove any remaining airborne dust that has slowly drifted down.
Where Renovation Dust Hides in a New BTO
Many homeowners focus only on floors and countertops, missing the hidden architectural pockets where fine particulates settle. When ceiling fans or aircon units are switched on, this hidden dust recirculates throughout the entire apartment.
Using a strategic checklist ensures you don’t miss these common collection zones during your initial move in cleaning:
Curtain rails: The top horizontal ledges of curtain tracks collect massive amounts of rising dust during floor sanding.
Top of built-in wardrobes: The narrow gap between the ceiling and your custom wardrobe is a prime dead-zone for fine drywall powder.
Cabinet hinges: Electrostatic sawdust clings to the lubricated metal hinge mechanisms inside your kitchen cupboards.
Sliding window tracks: The U-shaped tracks of sliding patio doors accumulate dense concrete debris during wet-works.
Aircon vents and louvers: Floating silica dust is drawn into the internal filter housing of brand-new air conditioning units.
Light fittings and track lights: The interior cups of downlights and the tops of spotlight tracks trap rising heat-borne dust.
Ceiling fans: Fine white powder clings to the leading edges of fan blades, waiting to be flung across the room when turned on.
Behind toilets and pipe casings: The tight, un-tiled spaces behind HDB bathroom vanity units and exposed piping.
Signs Your Home Still Has Construction Dust
Even after a comprehensive wipe-down, microscopic particles can persist. Look out for these telltale signs that your home requires further attention before you unpack:
White residue returns after wiping: If surfaces look clean when damp but dry to leave a cloudy, chalky white film, fine cement particles are still present.
Window tracks remain powdery: Sliding window and door frames feel rough or make a grinding sound when opened.
Bare feet feel gritty: Walking across your newly mopped vinyl or tile floors leaves a sandy, powdery sensation on the soles of your feet.
Aircon blows out fine dust: Turning on your air conditioning unit triggers sneezing or leaves a fresh layer of white powder on nearby furniture.
Wardrobes become dusty again: Shelves and hanging rods inside closed wardrobes mysteriously accumulate dust within a few days.
Is Construction Dust Dangerous?
While short-term exposure is unlikely to cause long-term health problems for most healthy adults, renovation dust can irritate the eyes, nose, throat, and lungs. Respirable crystalline silica, plaster particles, and chemical residues can trigger respiratory discomfort.
Young children, older adults, and people with asthma or allergies may experience more severe symptoms. Wearing an appropriate dust mask (such as an N95 mask) while cleaning and ensuring adequate ventilation after heavy dust removal can help reduce your exposure.
How Often Should You Clean a New BTO After Renovation?
To keep post-construction particles completely under control, a structured, multi-week timeline works best:
Week 1: Full post-renovation deep cleaning (best handled while the property is completely empty).
Week 2: Light dust wipe and thorough vacuuming (targets fine particles that settle out of the air after the initial deep clean).
Weeks 3–4: Regular weekly cleaning (deals with any minor dust introduced by delivery teams or nearby renovations).
Month 2 onwards: Standard weekly or fortnightly cleaning routine to keep the home pristine.
Common Mistakes New BTO Owners Make
Tackling a newly built flat’s dust can be overwhelming, and certain well-meaning cleaning habits can actually make the problem worse:
Opening windows immediately after cleaning: While it helps ventilate paint fumes, leaving windows wide open during the day allows active building residue from your neighbors’ units to settle right back onto your clean surfaces.
Sweeping instead of vacuuming: Using a traditional broom kicks fine silica particles back into the air, where they suspend for hours before settling again.
Using acidic cleaners: Trying to scrub away grout haze or cement stains with vinegar or harsh acids can permanently etch sensitive surfaces like quartz countertops or natural marble tiles.
Moving furniture in too early: Bringing in beds, sofas, and rugs before completing a thorough BTO cleaningallows micro-dust to embed deep into fabrics, making them much harder to clean later.
Forgetting aircon filters: Running your new air conditioning system while dust is still settling traps fine plaster powder in the filters, drastically reducing system efficiency and recycling allergens.
How to Protect Your New BTO Finishes
Modern flats are built with highly durable materials, but they are not impervious to damage from aggressive post-construction residue. Protecting your brand-new home requires a careful, material-specific cleaning strategy:
Important Note: Vinyl flooring, engineered wood, and natural quartz countertops require non-abrasive, pH-neutral solutions. Standard abrasive scrubs can permanently strip the protective factory seals of new BTO finishes.
Cleaning New Vinyl and Laminate Floors
Most new BTO flats utilize luxury vinyl tiles (LVT) or high-quality laminates. While highly moisture-resistant, these floors feature tiny textured grooves that mimic natural wood. Ultra-fine concrete dust settles deep into these grooves. Wiping them with a standard wet mop will only turn the dry dust into a thin layer of liquid cement grout, which dries into a dull, hazy film.
The floor must be vacuumed thoroughly multiple times before any wet mopping begins. An experienced cleaning team typically uses specialized equipment featuring a HEPA (High-Efficiency Particulate Air) filter, which captures microscopic dust particles instead of blowing them back into the room. This ensures fine silica dust is permanently extracted rather than recycled into the air.
How Long Does a Post-Renovation Clean Take?
The time required to extract all post-construction debris depends heavily on the layout, flat size, and density of custom carpentry. As a general guideline, a thorough cleaning typically takes:
| HDB Flat Size | Typical Cleaning Time |
|---|---|
| 2-room BTO | 4 – 6 hours |
| 3-room BTO | 5 – 7 hours |
| 4-room BTO | 6 – 8 hours |
| 5-room / 3-Generation BTO | 7 – 9 hours |
Actual cleaning times vary depending on the amount of renovation dust, built-in carpentry, and whether paint, grout, or adhesive residue needs additional attention.
Comparing Your Options: DIY vs. Specialist Move In Cleaning
Tackling a post-construction clean requires specialized techniques and industrial machinery to avoid damaging your brand-new home.
DIY Difficulty by Cleaning Task
| Post Renovation Task | DIY Difficulty | Why It’s Challenging |
|---|---|---|
| Ceiling Dust Extraction | High | Requires specialized extension poles and dry-sweeping techniques to prevent streaking walls. |
| Window Tracks Cleaning | Medium | Dry mortar and concrete fragments get impacted in narrow grooves and require manual agitation. |
| Wardrobe & Carpentry Interiors | Medium | Fine sawdust settles electrostatically into cabinet hinge plates and shelf support holes. |
| Aircon Vents & Filters | High | Fine dust can bypass filters and coat internal coils, requiring professional dismantling. |
| Floor Deep Cleaning | Medium | Standard mopping leaves a cloudy grout haze on vinyl and tiles if not vacuumed thoroughly first. |
Service Comparison
| Feature / Method | DIY Cleaning | Professional Cleaning |
|---|---|---|
| Vacuum Technology | Household vacuum (clogs easily) | Industrial HEPA vacuum (captures micro-dust) |
| Mopping Protocol | One mop, repeated water usage | Multi-stage cleaning (avoids hazy residue) |
| Dust Removal Depth | Surface wiping | Deep dust extraction from tracks and vents |
| Manpower | 1 to 2 family members | Dedicated, trained cleaning team |
| Time Investment | Several weekends | Usually completed within a day |
The Step-by-Step BTO Dust Management Plan
Because fine particles continue to settle out of the air for several weeks after your contractor hands over the keys, a single round of cleaning is rarely enough. Understanding What Lurks After Renovation? A Safe Move-In Guide For Singapore Homes is critical to realizing that microscopic chemical residues and airborne particulates require phased, patient removal.
Phase 1: The Initial Heavy Dry Extraction
Before a single drop of water or liquid cleaning agent touches a surface, you must remove as much dry particulate matter as possible.
Vacuum from top to bottom: Start with ceiling corners, downlight fixtures, top shelves of built-in cabinets, and window frames before vacuuming the floors.
Utilize HEPA filters: Standard budget vacuum cleaners often vent fine micro-dust straight back out of their exhaust ports. Ensure your vacuum features a sealed HEPA filtration system designed to trap microscopic construction residue.
Professional Tip: Always clean from the ceiling down. Vacuuming floors before wiping ceiling fans, curtain rails, or built-in wardrobes simply allows fresh dust to fall back onto the freshly cleaned floor surfaces.
Phase 2: The Detailed Wet Wipe-Down
Once the heavy dry dust is safely extracted, you can begin the deep sanitization process.
The two-bucket system: Always use two buckets when cleaning. One bucket should hold your clean, pH-neutral soapy water, and the second bucket should contain clean water for rinsing your dirty cloths. This prevents you from wiping muddy, dust-laden water back onto your clean walls and cabinetry.
Clean the tracks: Sliding window tracks are prime collection zones for concrete debris. Use a stiff detail brush to loosen the packed dust, vacuum it out, and then wipe the metal tracks clean to prevent the rollers from wearing out over time.
Phase 3: Post-Move Maintenance
After your furniture and personal belongings are delivered, a second wave of trapped dust will inevitably be dislodged. Scheduling a specialist weekly house cleaning service during the first month of occupancy is the most effective way to systematically eliminate this remaining airborne residue. It also helps to understand the 10 Weekly House Cleaning Realities Every Singapore Homeowner Should Know so you can establish an effective long-term cleaning routine during this transition phase.
How to Prevent Dust After Moving In
Once your initial deep clean is complete and your furniture is in place, you can keep ambient dust to a minimum with these proactive steps:
Keep windows closed during active nearby renovations: If neighbors on your floor are still hacking or drilling, keep windows shut during peak working hours (usually 9:00 AM to 5:00 PM).
Consider a HEPA air purifier: Running an air purifier with a true HEPA filter in your living room or master bedroom will help capture floating renovation particles before they land.
Vacuum weekly: Use a vacuum equipped with a HEPA filter once a week to capture fine settling dust before it embeds in your floors.
Use microfiber cloths: When dusting, swap paper towels or cotton rags for microfiber cloths, which carry an electrostatic charge that traps dust instead of spreading it.
Replace aircon filters regularly: Check and clean your air conditioner filters every two to four weeks during the first few months of moving in to catch recirculating drywall dust.
Quick BTO Move-In Cleaning Checklist
Before moving your belongings into your new flat, use this step-by-step checklist to ensure no dust hotspots are missed:
✓ Vacuum ceilings and wall joints: Lift away fine plaster dust clinging to drywalls.
✓ Clean lighting fixtures: Wipe down tracks and downlight housings.
✓ Clean ceiling fan fixtures: Carefully wipe fan blades and motor housings.
✓ Wipe wardrobe interiors: Clean out electrostatic wood shavings from drawers and shelf support holes.
✓ Clean sliding window tracks: Vacuum and scrub sliding metal frames until they slide silently.
✓ Deep clean bathrooms: Scrub chemical residue from floor tiles and wipe vanity backings.
✓ Mop floors in multiple stages: Dry vacuum, damp mop, and dry buff to avoid hazy grout stains.
✓ Replace or clean aircon filters: Remove the initial construction dust from your aircon vents.
✓ Perform a final dust wipe before furniture delivery: Do a quick, dry micro-wipe right before your furniture arrives.
Did You Know?
Renovation dust is much finer than ordinary household dust and can remain suspended in the air for several hours before settling onto surfaces again. This is why freshly cleaned rooms may appear dusty later the same day.
New BTO projects are handed over throughout Singapore every year, resulting in thousands of homeowners completing renovations and preparing their homes for move-in. Taking a phased approach to cleaning prevents fine particles from recirculating into your living spaces.
Why Standard DIY Tools Often Fall Short
Standard domestic tools are rarely equipped to handle the sheer volume of post-construction dust.
The Limit of Household Vacuums
A standard household vacuum cleaner is built to collect hair, crumbs, and lint. It is not designed to process fine masonry silica or plaster dust. Feeding large volumes of fine BTO dust into a standard bagless vacuum can quickly clog the motor filter, causing the unit to overheat, lose suction, or even burn out entirely.
The Challenge of Hard-to-Reach Architectural Features
Modern BTO layouts often make beautiful use of high ceilings, decorative false ceilings, L-shaped cove lighting troughs, and tall window bays. These architectural features are incredibly difficult to reach and clean safely without sturdy ladders, telescoping extension poles, and specialized static duster attachments. If these high areas are ignored, they will continue to dump dust down onto your living room floor every time your ceiling fan is turned on.
If the scale of the cleanup feels too overwhelming to manage alongside your busy work schedule, outsourcing the initial heavy lifting ensures your home is cleaned safely and thoroughly. If you are unsure of how to evaluate companies, our guide on How To Choose The Right House Cleaning Service In Singapore outlines the critical qualifications and safety coverages you should look for before booking.
Frequently Asked Questions
Why does construction dust keep returning weeks after my renovation is completed?
Fine building residue remains suspended in the air and trapped inside your walls, electrical conduits, and air conditioning ducts. When you run your ceiling fans or aircon units, the air movement slowly dislodges these trapped particles, causing them to settle back onto your furniture over the course of several weeks.
Is it safe to move into a BTO flat immediately after renovation?
It is highly recommended to wait until a thorough, deep post-renovation clean has been completed. Breathing in fine silica and concrete dust can irritate your respiratory tract, trigger asthma attacks, and cause persistent coughing, especially in young children or seniors.
Should I clean before or after installing curtains?
It is generally better to complete your post-renovation cleaning before installing curtains or blinds. Fabric quickly attracts fine construction dust, making it more difficult to keep clean if installed too early.
Can I use standard vinegar and baking soda to clean my new BTO?
While natural cleaning solutions are great for daily maintenance, they should be used with caution on brand-new premium materials. Vinegar is highly acidic and can permanently etch natural stone countertops, while baking soda is mildly abrasive and can scratch high-gloss laminate cabinet finishes. Stick to pH-neutral, material-safe commercial cleaners for your initial move-in cleans.
How do I keep dust from entering my new flat from neighboring renovations?
While you cannot stop your neighbors from renovating, you can minimize dust ingress by keeping your windows closed during peak drilling hours (usually 9:00 AM to 5:00 PM on weekdays). Running a high-quality air purifier with a true HEPA filter in your main living spaces will also help capture airborne dust before it has a chance to settle on your surfaces.
Reclaim Your Weekends and Enjoy Your New Home
Moving into your brand-new flat should be a joyous occasion, not a source of physical exhaustion and endless dust-wiping. Reclaiming your free time to explore your new neighborhood is much easier when you let expert cleaners handle the heavy labor.
A thorough post renovation cleaning removes hidden construction dust before it settles into your furniture, wardrobes, flooring, and air conditioning system. Starting with a properly cleaned home also makes ongoing weekly house cleaning much easier, helping your new BTO stay cleaner, healthier, and more comfortable for years to come.