

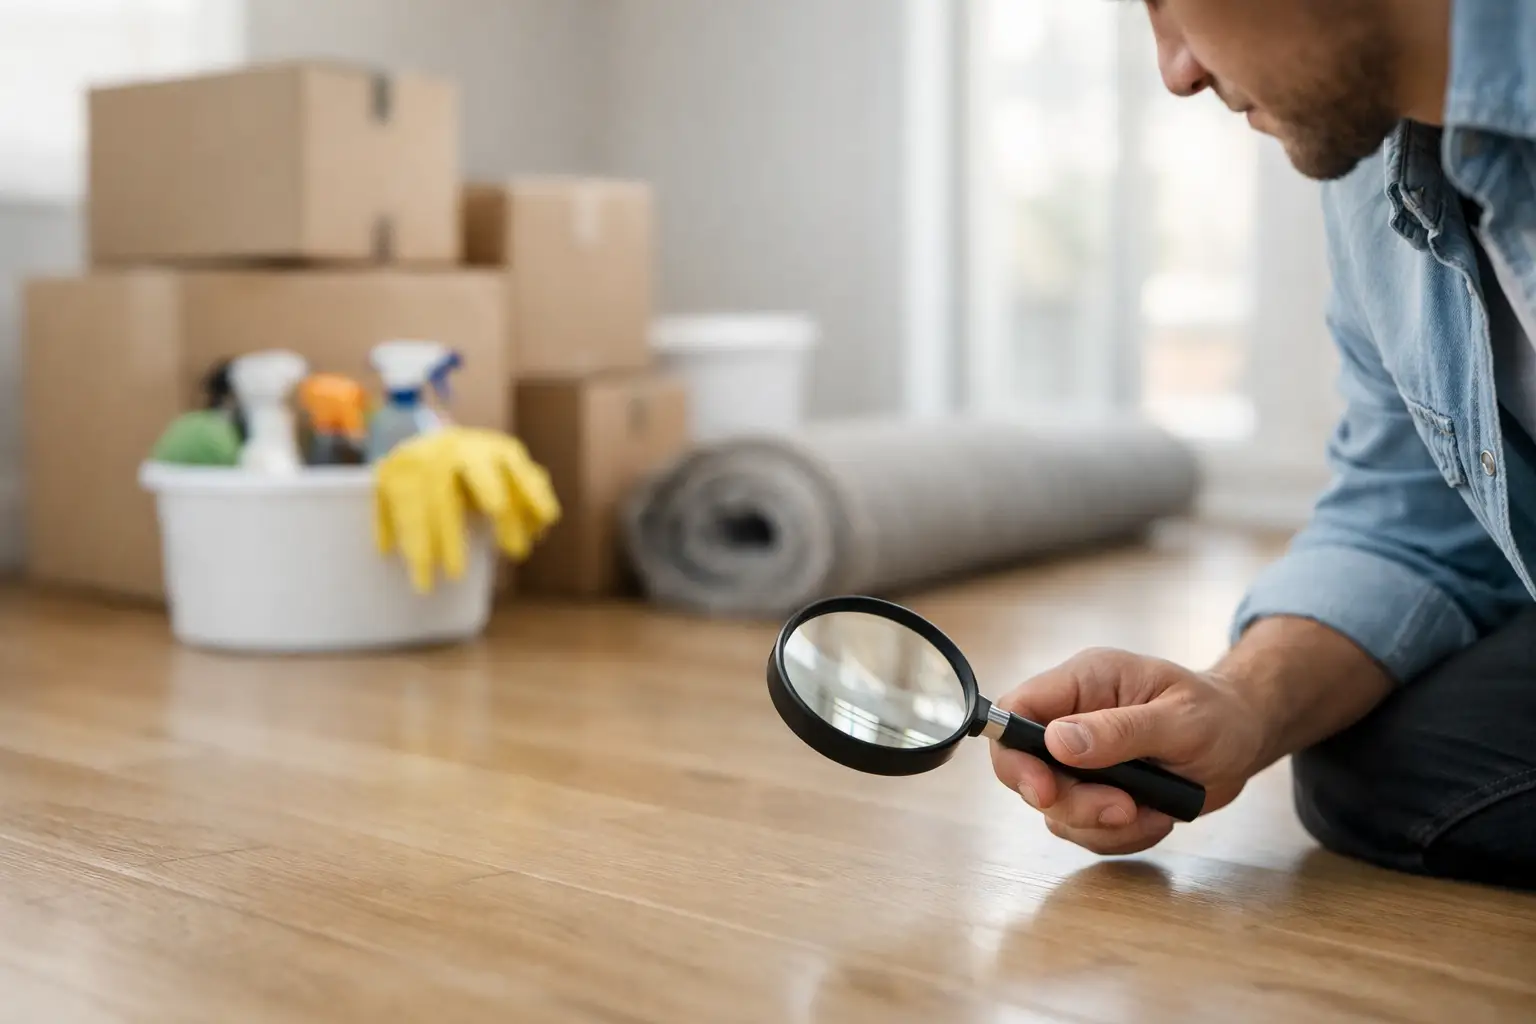
The keys are in your hand, the movers are booked, and the unit looks clean at first glance. This is the point where a quick, careful walkthrough can prevent an unpleasant surprise after your boxes are open. Knowing how to inspect move-in cleaning helps you check the areas that affect daily hygiene, not just whether the floors look shiny under the lights.
A proper move-in cleaning inspection is not about expecting a perfect, untouched home. It is about confirming that the agreed scope has been completed, surfaces are safe to use, and no old dust, grease, odors, or renovation residue will follow you into your new routine.
Inspect Before Furniture and Boxes Arrive
The best time to inspect is immediately after cleaning and before movers bring in furniture, cartons, rugs, or appliances. Empty rooms make it much easier to see dust along skirting boards, marks inside cabinets, hair in corners, and residue on window tracks.
Try to inspect during daylight where possible. In Singapore homes, bright afternoon light can reveal smudges on glass, fingerprints on cabinets, and fine dust that ceiling lights may hide. If the inspection must happen at night, use your phone flashlight and look across surfaces at an angle rather than directly from above.
Keep the service scope or quotation on your phone while you walk through the property. A move-in deep clean may include interior cabinets, kitchen degreasing, bathroom sanitizing, and vacuuming or mopping, while some tasks may be optional add-ons. For example, exterior window cleaning, curtain cleaning, upholstery work, or removing heavy renovation stains may not be included unless requested. Compare the work to what was agreed, rather than assuming every possible task is covered.
Start With a Room-by-Room Walkthrough
Walk through the home in the same order each time. In an HDB flat, condo, studio, or landed home, start at the entrance and move room by room without skipping ahead. This keeps the inspection organized and makes it easier to tell the cleaning team exactly what needs attention.
Check each room from high to low. Look first at ceiling corners, fan blades, light fittings, and air-conditioning vents where dust can settle. Then check walls, doors, switches, ledges, cabinets, floors, and corners. You do not need to rub every surface, but a clean finger or white tissue is useful for testing ledges, shelves, and the tops of cabinets.
Living Areas and Bedrooms
In living rooms and bedrooms, pay attention to the areas that are often hidden once furniture is in place. Check behind doors, inside wardrobes, along skirting boards, beneath window ledges, and in floor corners. Open built-in cabinets and drawers fully. They should be free from loose dust, hair, insects, and obvious sticky residue.
Windows deserve a closer look in humid conditions. The glass may appear acceptable from a distance but still have streaks, old fingerprints, or dust along the frame. Check window tracks for grit and trapped debris, especially if the unit has been empty for some time or renovation work was recently completed.
A mild musty smell may indicate that a closed room needs airing out, but it should not be confused with a cleaning issue automatically. If there is a persistent odor from a wardrobe, carpet, wall, or air-conditioning unit, document it. Odors can come from moisture, drainage, old tenant belongings, or mold, and may require more than standard cleaning.
Kitchen: Check More Than the Countertops
The kitchen is where a visual inspection alone is least reliable. Countertops may look clean while grease remains around the stove, hood, cabinet handles, backsplash, or the edges of drawers. Run a tissue around these areas, particularly near the cooktop and beneath upper cabinets.
Open every drawer and cabinet. Look in the back corners and under removable shelf liners if there are any. Check the sink strainer, drain area, faucet base, and the narrow gap between the counter and wall. These are common places for food crumbs, grease buildup, and pests.
If appliances are included in the property, inspect them while they are empty. Open the refrigerator, microwave, oven, dishwasher, and washing machine if applicable. Look for old food debris, stains, standing water, or strong odors. Cleaning the exterior of an appliance is different from cleaning the interior, so confirm what was included in the booked service.
How to Inspect Move-In Cleaning in Bathrooms
Bathrooms need a practical hygiene check because soap residue and moisture can hide in small gaps. Start with the toilet bowl, seat hinges, flush button, and the base of the toilet. Then inspect the sink, faucet, mirror edges, shower screen, floor drain, and tiled corners.
Look closely at grout lines and silicone seals. Some discoloration is permanent staining or wear, especially in an older rental unit, and cannot always be removed by cleaning. However, loose hair, soap scum, visible residue, and grime around drains should be addressed. A transparent inspection separates a cleaning concern from a maintenance or repair issue.
Turn on the taps briefly. You are not testing the plumbing in detail, but you can spot water stains, slow drainage, or unusual smells from the drain. Take note of these issues before moving in. They may need landlord, agent, or maintenance follow-up rather than a cleaner returning.
Check Floors, Touchpoints, and Hidden Edges
Floors are one of the clearest signs of whether the cleaning was completed thoroughly. Walk through each room in socks or barefoot after the floor has dried. If your feet pick up visible dust, grit, or oily residue, check whether the issue is limited to a corner or present across the room.
Also inspect high-touch surfaces. Door handles, light switches, cabinet pulls, remote controls left in the unit, and intercom panels should feel clean and free of sticky marks. These are small details, but they matter when children, elderly family members, or new tenants will be using the home right away.
Do not overlook service areas. In many Singapore homes, the yard, utility area, household shelter, balcony, and bomb shelter can collect dust quickly. Check floor drains, shelves, railings, and corners. If the unit has a balcony, look for leaves, dust buildup, and water marks near the drainage point.
Document Issues Clearly and Promptly
If you find missed areas, take clear photos and short videos before you begin unpacking. Photograph the wider area first, then a close-up that shows the issue. Write down the room, item, and concern, such as “master bathroom shower screen, soap residue along lower edge” rather than simply “bathroom not clean.”
Contact the cleaning provider as soon as possible, ideally on the same day. Clear communication gives the team the best chance to understand what happened and decide whether a touch-up visit is appropriate. Avoid using harsh products or trying to fix everything before reporting it, since that can make it harder to assess the original condition.
A reasonable request focuses on items within the agreed scope. For example, dust left inside a cleaned wardrobe or grease remaining around a stove is different from asking a cleaner to remove old rust, replace damaged silicone, or repair a faulty appliance. Clear quotations and defined service boundaries protect both the household and the service team from confusion.
Know When Cleaning Is Not the Whole Answer
Move-in inspections often reveal issues that look like dirt but are actually signs of wear, damage, or property maintenance needs. Peeling paint, chipped tiles, mold inside an air-conditioning unit, scratched flooring, rusted fixtures, and pest activity should be documented for the landlord, agent, or property manager.
This matters particularly for tenants. Record the unit’s condition before you settle in, even if you are not responsible for the earlier damage. A few dated photos can make future discussions about deposits and handover much simpler.
Once the essential cleaning points are confirmed, air out the home, replace or wash any filters where needed, and unpack room by room. A careful inspection takes less time than re-cleaning a fully furnished unit, and it gives your household a cleaner, calmer start in the new space.