

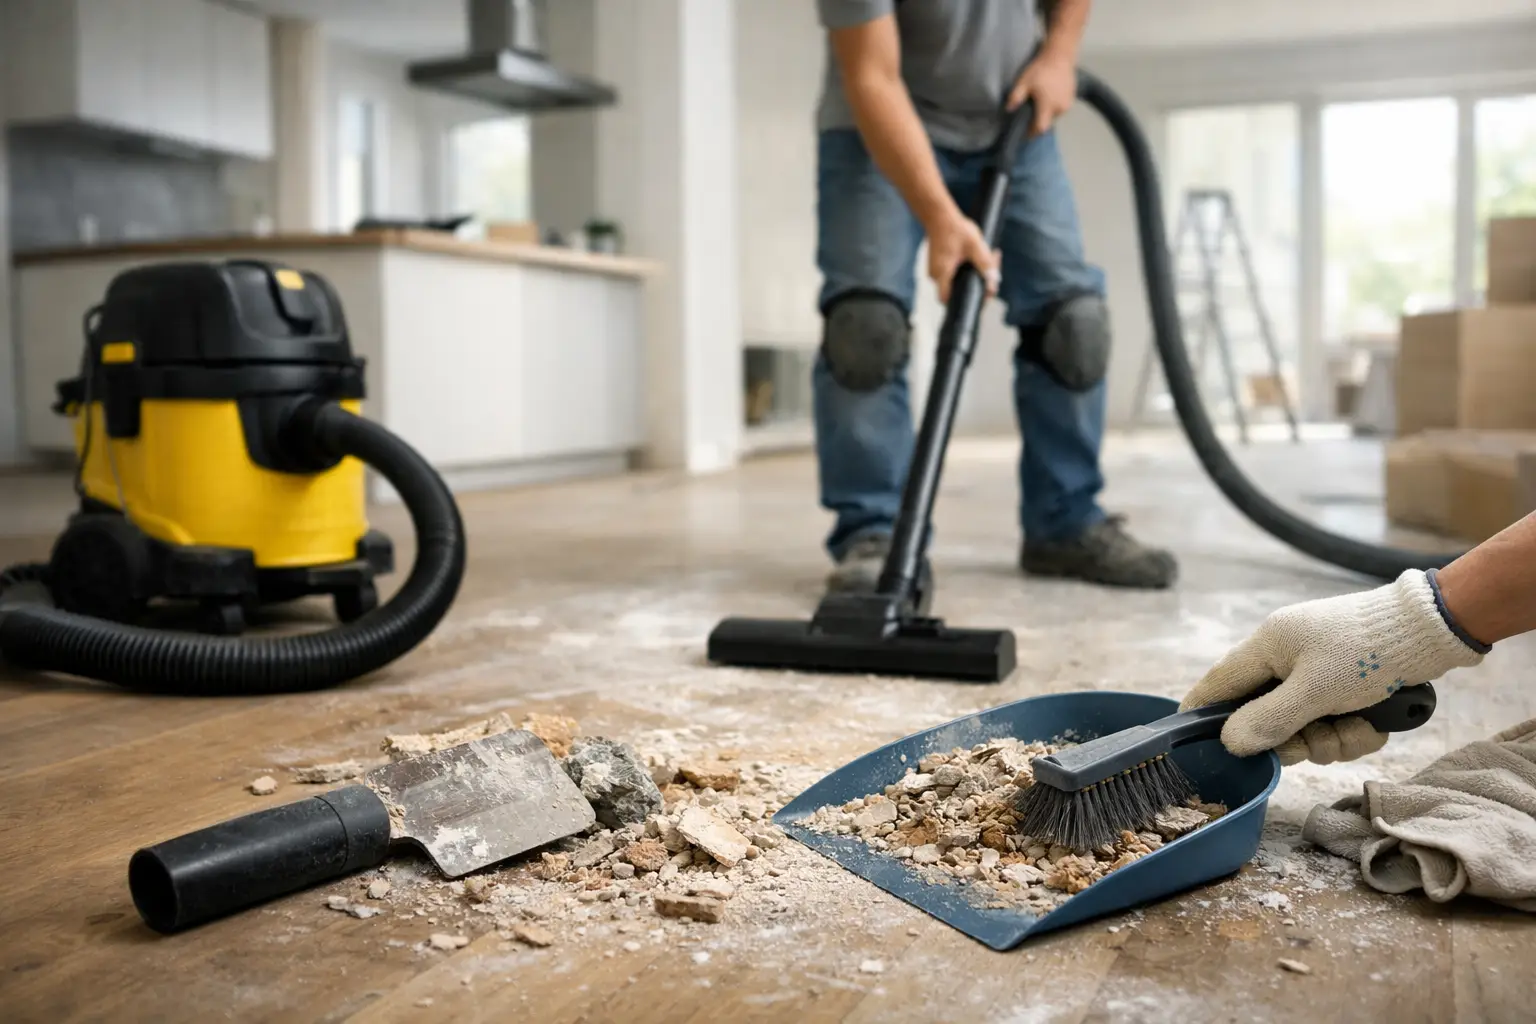
The renovation may be finished, but the home is not necessarily ready for furniture, children, pets, or a first night’s sleep. Renovation residue removal deals with the fine dust, adhesive traces, paint spots, grout haze, and construction film that remain after contractors leave. In Singapore homes, that residue can settle quickly in air-conditioner vents, cabinet interiors, window tracks, and soft furnishings once the humid air starts circulating.
A proper post-renovation clean is different from a regular weekly visit. The goal is not simply to make surfaces look tidy. It is to remove the materials left behind by renovation work without scratching new fittings, damaging delicate finishes, or spreading dust from one room to another.
What renovation residue looks like in a home
Some residue is obvious. You may see dried paint on skirting boards, silicone around a sink, grout powder on new tiles, or protective stickers on glass and appliances. The harder part is the dust that is easy to miss. Renovation dust is often much finer than everyday household dust, and it can sit inside drawers, on top of doors, behind toilet bowls, and along the edges of new carpentry.
A newly renovated HDB flat or condo can look clean at first glance while still carrying a layer of powder across its horizontal surfaces. Open a wardrobe, wipe the inside of a kitchen cabinet, or run a finger along a window frame and the remaining dust becomes clear.
Common residues include:
- Fine dust from drilling, sanding, hacking, and false-ceiling work
- Paint splatters, dried primer, tape marks, and adhesive residue
- Cement dust, grout haze, silicone smears, and sealant marks
- Sawdust and wood particles inside carpentry and storage areas
- Plastic film, labels, and packaging debris left on new fixtures
Not every mark should be treated with the same cleaning product. A strong solvent may remove adhesive but dull an acrylic panel. An abrasive pad may lift dried paint but leave scratches on a glass hob, chrome tap, or polished tile. This is why the condition and materials in the home should be assessed before cleaning begins.
Why renovation residue removal needs a planned approach
The biggest mistake after renovation is cleaning room by room in a random order. Dust travels. If the living room is wiped before the ceiling, ledges, and air vents are addressed, a new layer of dust may settle on the cleaned floor within minutes.
A more practical approach works from high to low and from dry removal to damp wiping. Loose dust should be vacuumed or collected first, including corners, tracks, cabinet interiors, and gaps around built-in furniture. Surfaces can then be wiped with suitable cloths and cleaning solutions. Floors come near the end, after dust has been removed from overhead and vertical areas.
This sequence matters especially in compact apartments, where an open kitchen, living room, and entryway share the same air. In landed homes, the challenge may be larger floor area, staircases, balcony doors, and multiple bathrooms. The method changes with the property, but the principle stays the same: remove residue systematically instead of moving it around.
New carpentry requires extra care
Built-in wardrobes, kitchen cabinets, TV consoles, and shoe cabinets collect a surprising amount of construction dust. Their interiors should be vacuumed and wiped before clothes, dishes, or personal items go in. Drawer runners, hinges, shelf edges, and ventilation gaps deserve attention too.
New laminate, veneer, quartz, sintered stone, and glass surfaces should not be treated aggressively just because they are new. The safest method depends on the finish and the residue involved. For example, paint spots may need careful spot treatment, while ordinary dust and handprints usually need a gentler wipe-down.
Bathrooms and kitchens hold stubborn marks
Bathrooms often have grout residue, silicone smears, sticker adhesive, and dust around fittings. Kitchens may have sawdust inside cabinets, protective film on appliances, and debris behind or below base units. These areas should be cleaned thoroughly before daily use because they are where moisture, food particles, and humidity can quickly turn leftover residue into an ongoing hygiene issue.
It also helps to check areas that are commonly overlooked: the tops of shower screens, exhaust fan covers, floor traps, under-sink cabinets, backsplash edges, and the narrow spaces beside built-in appliances.
A practical post-renovation cleaning sequence
Before arranging cleaning, make sure major contractor work is complete. If drilling, touch-up painting, or carpentry adjustments are still happening, dust will continue to return. It is usually more cost-effective to schedule the intensive clean after the final work and debris removal, not between renovation stages.
Start by removing loose packaging, abandoned materials, and large debris where this is included in the agreed scope. Next, focus on dry dust removal across ceilings, fans, light fittings that are safe to access, ledges, wall surfaces, doors, cabinetry, and window tracks. Vacuuming with appropriate attachments helps lift fine particles from crevices more effectively than a basic sweep.
After that, wipe hard surfaces and treat visible marks carefully. Glass, mirrors, sanitary fittings, countertops, cabinets, switches, and door handles all need different levels of care. Floors should be vacuumed again and then mopped according to the surface type. A final check of corners, storage spaces, and high-touch areas helps catch residue that becomes noticeable only once the main cleaning is done.
For homes with air conditioning running soon after the renovation, consider the dust around accessible vent covers and nearby ledges. Cleaning cannot replace professional air-conditioner servicing when that is needed, but reducing loose dust around the home before moving in can make the first few weeks more comfortable.
What a cleaning service can and cannot solve
A post-renovation cleaning team can remove typical dust, wipe interior surfaces, clean bathrooms and kitchens, address accessible paint or adhesive marks where suitable, and prepare the home for move-in. The exact scope should be clear before booking, particularly for larger properties, homes with extensive carpentry, or units that have been vacant during renovation.
There are limits. Deep scratches, permanent paint staining, damaged sealant, mold inside concealed spaces, construction defects, and debris trapped behind fixed panels are not standard cleaning issues. Neither are heavy renovation waste removal, chemical disposal, or contractor rectification work. If a tile is chipped or a cabinet door is misaligned, raise it with the renovation contractor before handover rather than expecting cleaning to fix it.
Transparency matters here. A clear quotation should reflect the size of the property, number of rooms and bathrooms, level of residue, accessibility, and requested add-ons such as interior cabinet cleaning, balcony cleaning, or appliance cleaning. A studio apartment with light dust needs a different amount of work from a five-room HDB flat with new carpentry in every room.
When to schedule the clean
The best time is after the contractor has completed final touch-ups and removed major waste, but before movers deliver furniture and before curtains, rugs, and personal belongings are brought in. Empty rooms give cleaners access to floor edges, wardrobe interiors, and areas behind doors that become difficult to reach later.
If you have already moved some items in, it is still possible to clean, but the work may take longer and certain areas may be inaccessible. Keep new mattresses, electronics, and boxed belongings covered until dust removal is completed where possible.
For tenants preparing a renovated rental unit, take photos after the cleaning and before moving belongings in. For landlords, a clean, residue-free handover makes it easier for incoming tenants to inspect the property and report genuine defects separately from cleaning concerns.
Getting the home ready for move-in
Once renovation residue removal is complete, allow the home to air out if there are lingering renovation odors. Wipe down delivered furniture before placing it against freshly cleaned walls or inside cabinets. Then start with the spaces used first: kitchen storage, bathrooms, bedrooms, and the entryway.
Singapore House Cleaning can provide a defined post-renovation cleaning scope and a clear quotation based on your home’s condition and needs. A quick WhatsApp or phone conversation is often the simplest way to confirm what is still in the unit, what needs special attention, and when the cleaners should arrive.
A clean home should let you focus on settling in, not on finding dust inside every drawer. Arrange the final clean after the contractors are truly done, and give your new space the fresh start it was renovated for.