

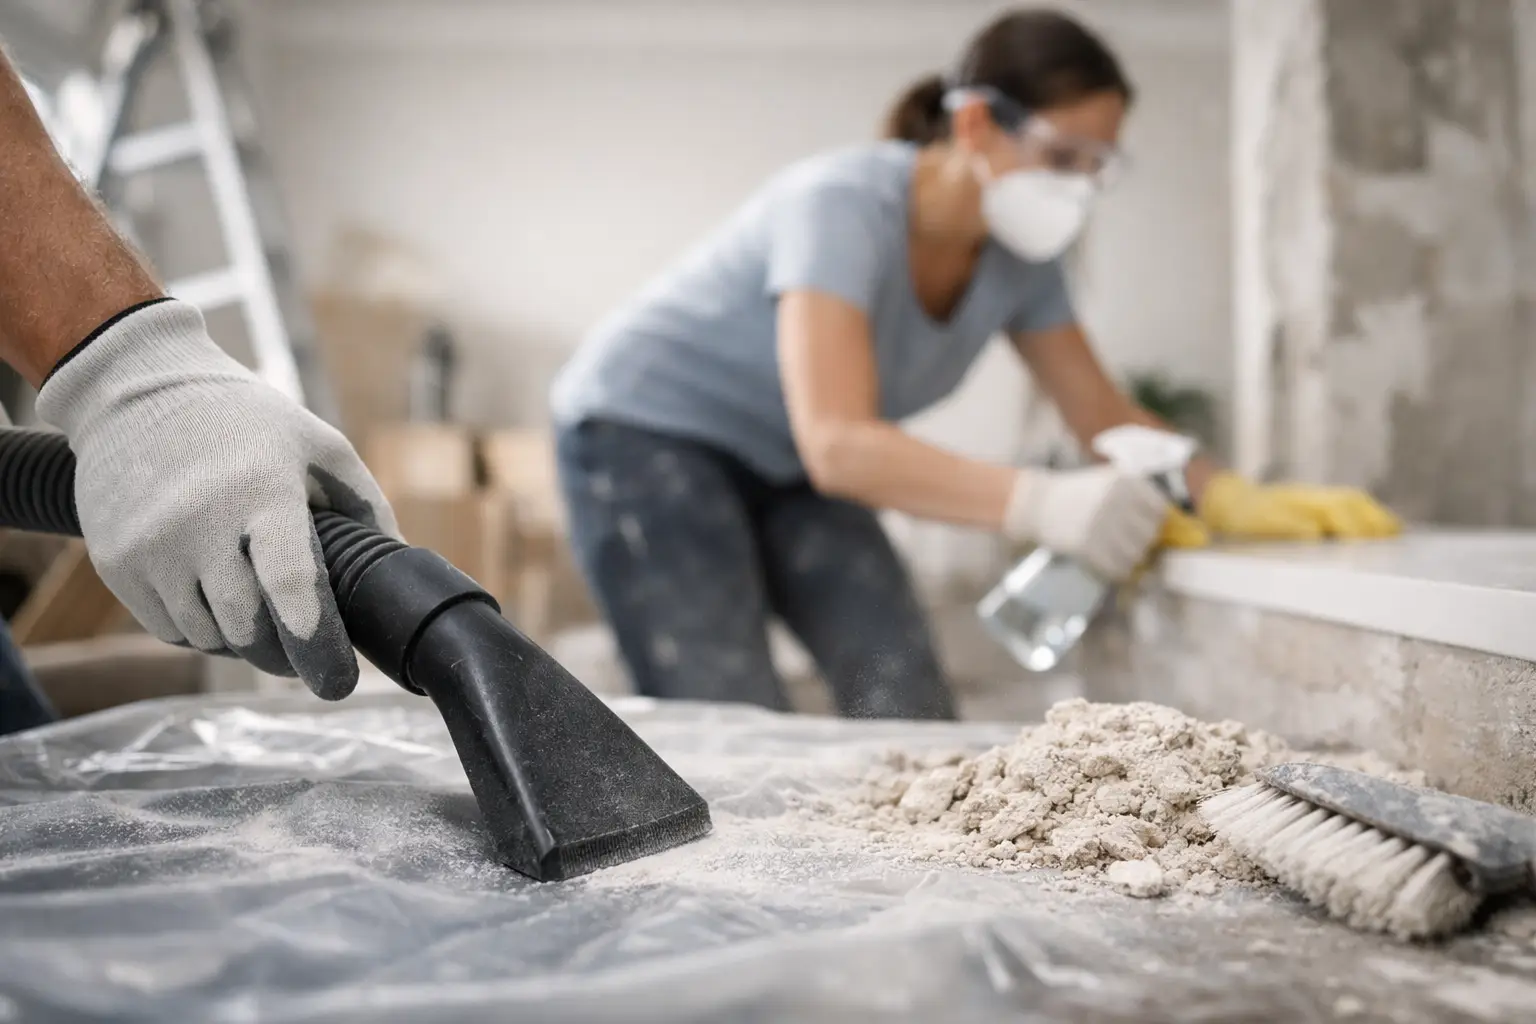
Renovation dust has a way of showing up after you think the work is finished. It sits inside drawers, along window tracks, on top of doors, and under protective coverings. In Singapore homes, humidity can make fine dust cling to tiled floors, glass, cabinets, and soft furnishings. Knowing how to remove renovation dust is less about scrubbing harder and more about cleaning in the right order.
The main mistake is starting with a wet mop or wiping the floor first. That turns powdery residue into streaks and sludge, while dust from higher surfaces simply falls back down. A proper post-renovation clean works from dry to damp, high to low, and room by room.
Prepare the Home Before You Start
Do not begin until contractors have removed their tools, offcuts, packaging, and larger debris. Check that paint, grout, sealant, and carpentry finishes have cured according to the contractor’s advice. Wiping uncured surfaces can leave marks or pull away fresh sealant.
Open windows where practical, but keep in mind that a strong cross-breeze can blow dust from one room into another. If the air-conditioning system was used during renovation, clean or replace accessible filters before running it for long periods. Otherwise, it may push fine dust back into rooms you have already cleaned.
Wear a well-fitting mask, gloves, and closed shoes. Fine renovation dust can irritate the eyes and throat, particularly when drilling, sanding, hacking, or gypsum board work was involved. If there is a large amount of unknown powder, visible mold, chemical residue, or suspected hazardous material, do not treat it as routine house cleaning. Ask the contractor or a specialist for advice first.
How to Remove Renovation Dust in the Right Order
Start at the furthest point of the home and work toward the entrance. In an HDB flat or condo, it is often easiest to complete bedrooms first, then the living area, kitchen, bathrooms, and finally the entryway. Close each cleaned room where possible so foot traffic does not bring dust back in.
1. Remove loose debris and vacuum dry dust
Pick up larger pieces by hand before vacuuming. Use a vacuum with a HEPA filter if available, especially for fine powder on floors, ledges, and upholstery. A standard vacuum can still help, but empty it carefully and clean its filter frequently. A clogged filter reduces suction and may release fine dust back into the air.
Vacuum slowly rather than making fast passes. Cover floor edges, baseboards, window tracks, cabinet interiors, curtain pelmets, and the gaps around built-in carpentry. Use a brush attachment on shelves, light fixtures, air-conditioning vents, and the tops of doors. Avoid dragging a vacuum head across delicate vinyl, polished stone, or newly installed surfaces if it has hard wheels or trapped grit.
Do not dry sweep fine renovation dust with a broom. It creates a dust cloud and moves particles into corners, vents, and neighboring rooms.
2. Dust high surfaces before wiping lower ones
After vacuuming, use a clean microfiber cloth to lift dust from high surfaces. Fold the cloth into sections so you can turn to a clean side as it becomes gray. Start with ceiling corners, fans, light fittings, curtain rails, and air-conditioning grilles, then move to walls, windows, shelves, counters, and cabinetry.
For painted walls, use a dry microfiber duster first. If marks remain, test a lightly damp cloth in an inconspicuous area. Fresh paint, matte finishes, and poorly cured touch-up work can mark easily. Do not spray cleaner directly onto walls, electrical switches, or light fittings.
Cabinets need more attention than they usually receive. Open every drawer and cupboard, vacuum joints and shelf supports, then wipe the interiors with a barely damp microfiber cloth. Allow them to dry fully before putting kitchenware, clothing, or food inside. Dust trapped in new cabinets can carry a persistent construction smell.
3. Wipe with clean water, then use cleaner where needed
Once loose dust is gone, wipe hard surfaces with a damp microfiber cloth. Rinse or replace the cloth often. One dirty cloth spreads a gray film across glass, countertops, and glossy cabinets, which is why several clean cloths are more useful than one heavily sprayed cloth.
Use a mild, surface-appropriate cleaner only when water is not enough. Kitchen counters may need a degreasing cleaner if contractors cooked on site or handled oily tools. Bathroom tiles may need a neutral cleaner to remove grout haze and construction residue. For natural stone, engineered stone, wood, laminate, and specialty finishes, follow the manufacturer’s care advice. Acidic products can dull stone, while excessive water can damage wood edges and cabinet joints.
Glass and mirrors often need two passes. First remove the dusty film with a damp cloth. Then use a clean, dry microfiber cloth or glass cleaner for the final finish. Trying to polish dusty glass immediately usually causes streaks.
4. Clean floors last, and change water often
Vacuum floors again after wiping the higher areas. Then mop in sections with clean water and a suitable floor cleaner. For tile floors, use a well-wrung mop rather than flooding the surface. For vinyl, laminate, and wood flooring, use very little water and dry any remaining moisture promptly.
Change the mop water as soon as it looks cloudy. This is especially important in larger condos and landed homes, where dirty water can leave residue from room to room. Pay attention to corners, behind doors, under built-in cabinets, and around toilet bases, where fine dust settles unnoticed.
If the floor still feels gritty after it dries, vacuum and mop again. Heavy renovation dust often requires more than one cycle. That is normal, particularly after hacking, sanding, ceiling work, or extensive carpentry installation.
Do Not Forget the Areas That Hold Dust
The visible floor is only part of the job. Dust continues to appear when it remains in hidden areas or is released by moving air. Check these commonly missed spots:
- Window tracks, insect screens, and sliding-door channels
- Air-conditioning grilles, filters, and ceiling vents
- The tops of cabinets, doors, picture rails, and wardrobes
- Power outlets, switch plates, and appliance gaps
- Curtains, blinds, sofa seams, mattresses, and fabric headboards
- Balcony drains, service yards, and entrance mats
Soft furnishings should be vacuumed with an upholstery attachment. Wash removable covers and curtains if they were exposed during renovation. For mattresses, vacuum both sides and allow time to air out before making the bed. If curtains, rugs, or sofas have absorbed strong paint or chemical odors, cleaning may reduce the smell, but ventilation and time are also necessary.
When a Post-Renovation Cleaning Service Makes Sense
A do-it-yourself clean can work for a small refresh, such as painting one room or installing a few shelves. It becomes more demanding when there is dust across multiple rooms, new built-in furniture, sticky protective film, grout haze, or tight moving deadlines. Families with young children, elderly household members, or allergy concerns may also prefer the home cleaned thoroughly before settling back in.
For a post-renovation cleaning booking, give the cleaning team clear details: property type, number of rooms and bathrooms, extent of renovation, whether furniture is already inside, and any areas needing special attention. Photos are useful for obtaining a realistic quotation. A clear scope matters because removing fine dust from empty cabinets, interior windows, balcony areas, and new appliances takes more time than a standard weekly cleaning visit.
Singapore House Cleaning can provide a practical post-renovation cleaning scope based on the condition of your home, whether it is an HDB flat, condo, studio, or landed property. Confirm what has been completed by the contractor before the appointment so cleaners can focus on dust removal and finishing work rather than navigating active renovation.
After the first deep clean, expect a light layer of dust to settle again over the next few days. Run the vacuum, wipe main surfaces, and clean air-conditioning filters as needed. That small follow-up routine is often what makes a newly renovated home feel ready to live in.