

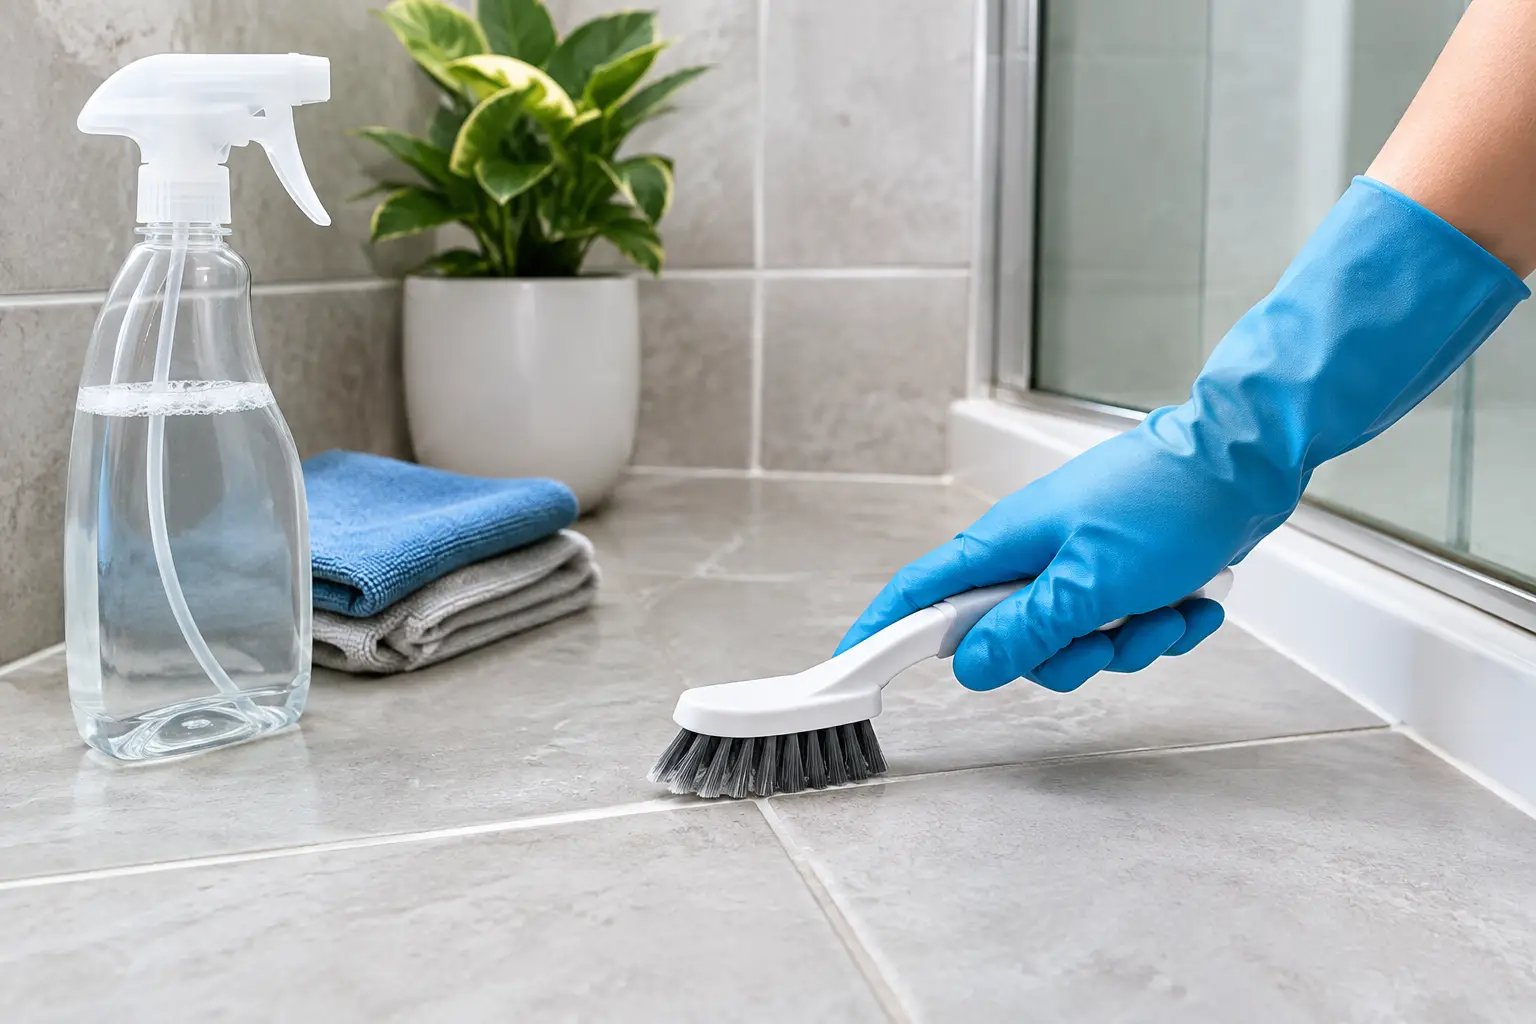
Bathroom grout can look dirty again only days after a thorough scrub, especially in a shower that stays damp after every use. Knowing how to sanitize bathroom grout is less about using the strongest chemical available and more about removing buildup first, choosing a suitable sanitizer, and drying the area properly afterward.
In Singapore homes, warm and humid conditions give mildew an easy place to grow. Grout is porous, so soap residue, body oils, hard-water minerals, and moisture can settle into tiny gaps. A practical routine protects both hygiene and the condition of your tiles, whether you live in an HDB flat, condo, studio apartment, or landed home.
Clean First, Then Sanitize Bathroom Grout
Cleaning and sanitizing are related, but they are not the same job. Cleaning removes visible dirt, soap scum, and grime. Sanitizing reduces germs on a cleaned surface. If grout still has a layer of residue on it, a sanitizer cannot make proper contact with the surface.
Start by clearing shampoo bottles, bath mats, and loose items from the area. Run the exhaust fan or open a window if your bathroom has one. Good ventilation matters when you are working in a compact bathroom and using any cleaning solution.
For routine grout cleaning, use a bathroom cleaner suitable for ceramic or porcelain tile, along with warm water and a stiff nylon grout brush. Avoid wire brushes. They can scratch tile glaze, wear away grout, and leave small metal particles that may rust.
Apply the cleaner according to its directions and let it sit briefly so it can loosen soap residue. Scrub along the grout lines with short, controlled strokes, then rinse well. A small brush works better than a large floor brush for wall tiles, shower corners, and the grout around a drain.
Dry the grout with a clean microfiber cloth before moving on to sanitizing. This gives you a clearer view of stains that remain and prevents your sanitizer from being overly diluted.
What You Need for a Safe Grout Routine
You do not need a cupboard full of products. The right basic supplies make the work more controlled and reduce the chance of damaging tile or grout.
- A pH-neutral bathroom or tile cleaner
- A stiff nylon grout brush or old toothbrush for tight corners
- Clean microfiber cloths
- A labeled bathroom sanitizer or disinfectant approved for hard, nonporous surfaces
- Rubber gloves and, where needed, eye protection
- A squeegee or dry towel for finishing the shower area
Read the product label before use. Some disinfectants need a surface to stay visibly wet for a specific contact time to work as intended. Wiping it away immediately may leave the bathroom smelling clean without providing the sanitation result you expected.
Choose the Right Sanitizer for Your Tile and Grout
Not every bathroom surface should be treated the same way. Ceramic and porcelain tile are generally more forgiving than natural stone, but grout can still be weakened by repeated use of harsh products. If you have marble, limestone, travertine, terrazzo, colored grout, damaged grout, or a recently sealed surface, check the product guidance or test a small hidden area first.
A ready-to-use bathroom sanitizer is often the simplest choice for regular use because it comes with clear instructions for dilution, contact time, and surface compatibility. Apply it to already-clean grout, keep the room ventilated, and follow the label directions for rinsing. In a shower area, rinsing afterward can be sensible if children, older family members, or pets may touch the surface.
Bleach can remove some staining and help address mildew on suitable white grout, but it is not automatically the best answer. Frequent bleach use may fade colored grout, affect sealers, and create strong fumes in a small bathroom. Never mix bleach with vinegar, toilet cleaner, ammonia, descaler, or any other cleaning product. Dangerous gases can form even when products are used one after another without enough rinsing.
Vinegar is also not a universal grout cleaner. It is acidic and may damage natural stone or gradually affect some cement-based grout. It can be useful in limited situations on compatible ceramic or porcelain surfaces, but a tile-safe cleaner is the more dependable choice when you do not know the exact material.
A Step-by-Step Method That Works in Real Bathrooms
After cleaning and drying the grout, apply your chosen sanitizer evenly. Work in small sections rather than spraying the whole bathroom at once. This prevents the product from drying before it has had the required contact time, which is common in warm bathrooms with fans running.
Use the brush only if the product instructions permit scrubbing. Some sanitizers are designed to sit undisturbed, while others can be lightly agitated over textured grout. Keep the product off towels, bath mats, and painted surfaces. If it runs onto a metal fixture, wipe it away promptly to reduce the chance of dulling or discoloration.
Once the contact time is complete, rinse if directed. Then dry the wall tiles, floor edges, and shower base with a cloth or squeegee. This final drying step is easy to skip, but it is one of the most useful ways to slow mildew return. It removes water that would otherwise remain in grout lines for hours.
For a shower used by several people each day, clean and sanitize the grout every one to two weeks, depending on how quickly residue builds up. A lightly used guest bathroom may only need this deeper attention monthly. Daily squeegeeing and a quick wipe of wet corners can reduce the amount of scrubbing needed later.
When Dark Grout Is More Than Surface Dirt
Black, orange, pink, or green marks do not always mean the same thing. Pink residue is often bacterial film that develops in wet areas, while dark spotting may be mildew or mold. Some gray or brown discoloration is simply embedded soil, especially on floor grout near the shower entrance.
If stains remain after careful cleaning, do not assume more chemical strength is the answer. Grout may be permanently discolored, cracked, poorly sealed, or holding moisture behind the tile. Repeatedly soaking a damaged area can make the problem harder to manage.
Check for loose tiles, crumbling grout, water stains on the ceiling below, a persistent musty smell, or dampness that returns when the bathroom has not been used. These signs may point to a leak or waterproofing issue rather than a housekeeping problem. A cleaning service can improve surface hygiene, but repair work may be needed before the bathroom will stay clean.
Prevent Mildew From Returning So Quickly
Bathroom grout stays cleaner when moisture is managed after each shower. Leave the exhaust fan running for a while after bathing, or keep the bathroom door open when privacy allows. Hang towels fully spread out to dry instead of leaving them bunched on a hook.
Wipe pooled water from shower ledges, the floor perimeter, and silicone joints. Pay attention to the bottom row of wall tiles, where shampoo residue and water commonly collect. If your shower curtain or bath mat smells damp, wash and dry it fully rather than placing it back while wet.
Sealing sound, fully dry cement-based grout can also help reduce staining and water absorption. Sealer is not a substitute for cleaning, and it will not fix cracked grout, but it can make routine maintenance easier. The right timing depends on the grout type, its condition, and whether it has already been sealed.
When to Arrange Professional Help
A move-in clean, end-of-tenancy clean, or post-renovation clean often reveals grout that has been neglected for months. Construction dust, adhesive residue, paint splashes, old soap buildup, and heavy mildew require more time than a standard weekly bathroom clean.
For these situations, it helps to describe the tile type, bathroom size, staining, and any known damage before booking. A clear scope avoids assumptions about whether the job involves regular cleaning, detailed grout scrubbing, mold treatment, or restoration work. Singapore House Cleaning can help households plan practical bathroom cleaning within a broader home cleaning service, while being clear about what surface cleaning can and cannot repair.
A clean grout line should not require harsh products every weekend. Give the surface time to dry, use products suited to your tile, and deal with recurring dampness early. That small routine makes the bathroom easier to maintain and more comfortable for everyone using it.